
Did you see Learning to Sketch 1? Click here to go there first.

It is important when you are learning to sketch to really see the shapes and angles, with your eyes, and not your brain. You need to learn how to forget what the object is, and instead, to study its form, comprising shapes and angles. If you think to yourself, ah yes I’m drawing a teacup, your brain will decide – I know how a teacup looks, I’ve seen thousands of them, and you will immediately get it wrong, then be annoyed with yourself for getting such a simple thing wrong.
You have to learn to look with your eyes, and not let your brain get in the way. Most of us have gone through life just glancing at things, enough to keep us safe, ie: when crossing the road, or climbing a step ladder, or carrying a tray. We are not used to really looking at an object for any length of time.
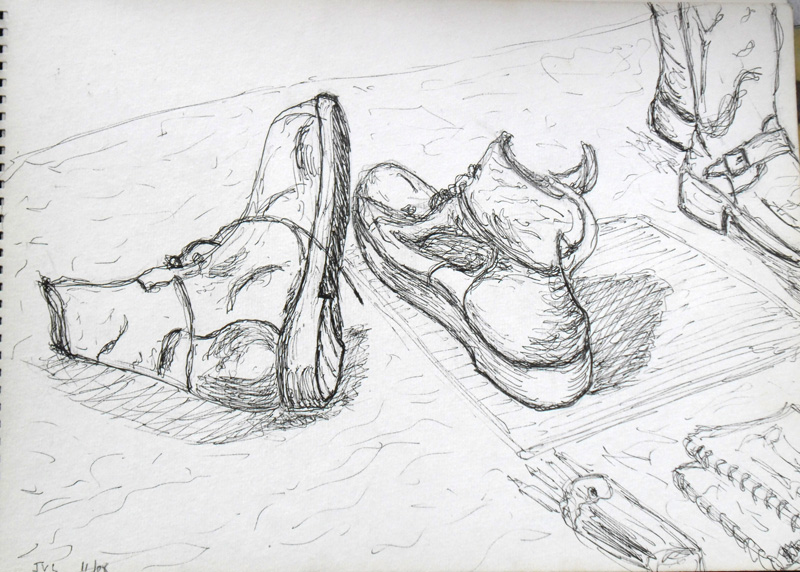
So let’s set up a still life, perhaps, of a jug or a cup and saucer, really study each piece, and ask yourself, Can you see into the top of the jug, from your viewpoint, can you see an oval shape? Is the base curved or flat, from your view point? Same goes for the cup, can you see the handle?
Look at the shapes and angles, each time you draw a line, check if it’s at the right angle, and the shape is correct. If you get it wrong, don’t worry, this is how we learn. Don’t rub it out, just start it again beside the first attempt, If this one also goes wrong, start another alongside it, after you’ve been looking at the subject for a while, say 1/2 an hour, you will really start to understand it.
Ask yourself, Do you see any shadows, which side are they on, so where is the main light coming from? Are the objects shiny, like glass or silver? Do they have reflections? Does one object cast a shadow on the other objects? OK so how are you doing? drawing each object, checking the shapes and the angles. Use your pencil to check the angles, by holding it up in front of you at the correct angle, then check your drawing. Keep checking and correcting until you are sure the shapes and angles are correct. Do you feel a fool when people see you holding up your pencil? You will certainly feel more foolish, when people remark on an innaccurate drawing.

Now you are ready to add some life to your drawing by using a 4b or 6b pencil to add some darks. If you squint or half close your eyes, at the subject, you should find that the details and colours, fade away, but you can see clearly the darkest shapes and the lightest shapes. Put your dark shading in – following the shapes and contours and then some lighter mid tones, remember to frequently squint, to check your tones.
You don’t need to put in the lightest areas, the white of the paper will do that for you, once your dark and midtones are correct. Use your shading to help describe the shapes of the objects with the direction of shading. Finally darken the place where the objects rest on the table surface, to make the objects look ‘grounded’ and not floating in space. If your shadings are correct, ie dark enough, the objects should look as if they are ‘coming to life’ as if they have three dimensional form, and look ready to be picked up, off the table. Go back and look at your first discarded outline drawings, which you weren’t happy with. That is your learning progress. I frequently start something 2 or 3 times, before I’m satisfied with it.
Next time: Learn to sketch 3 – Tonal Values – how tones and contrast improve your drawing!
To make sure you don’t miss it, click on any photo, and enter your e-mail address!
Till next time!